Landsborough Art Studio
FROM BEHIND THE EASEL
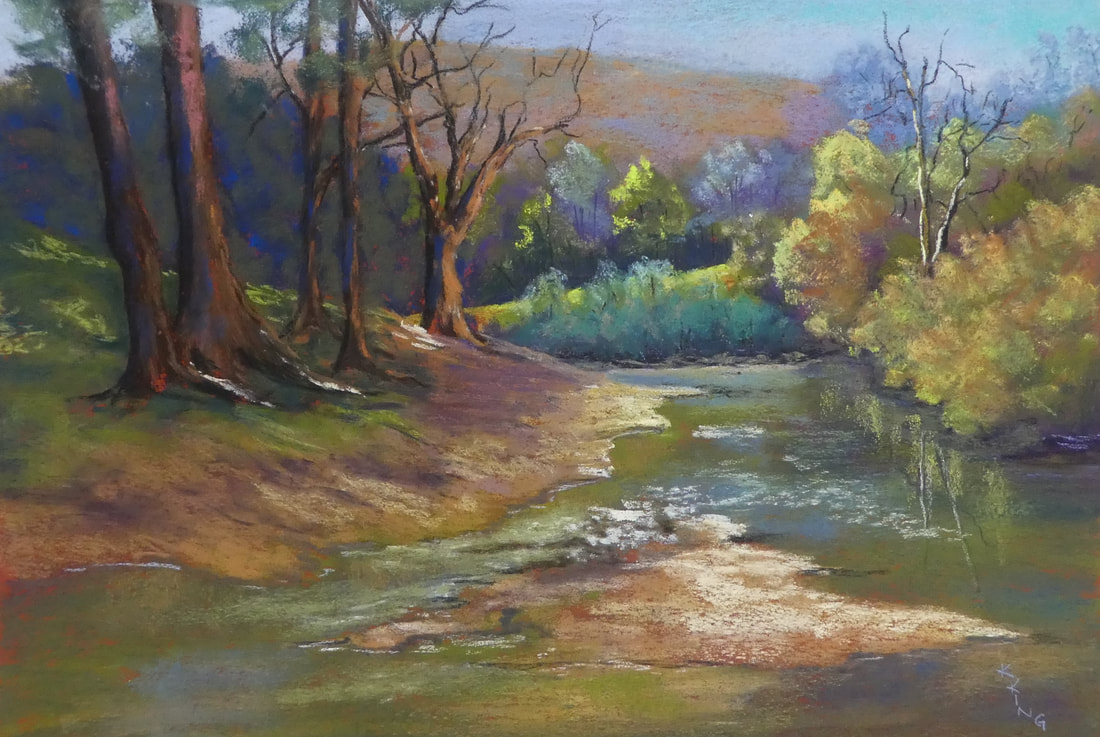
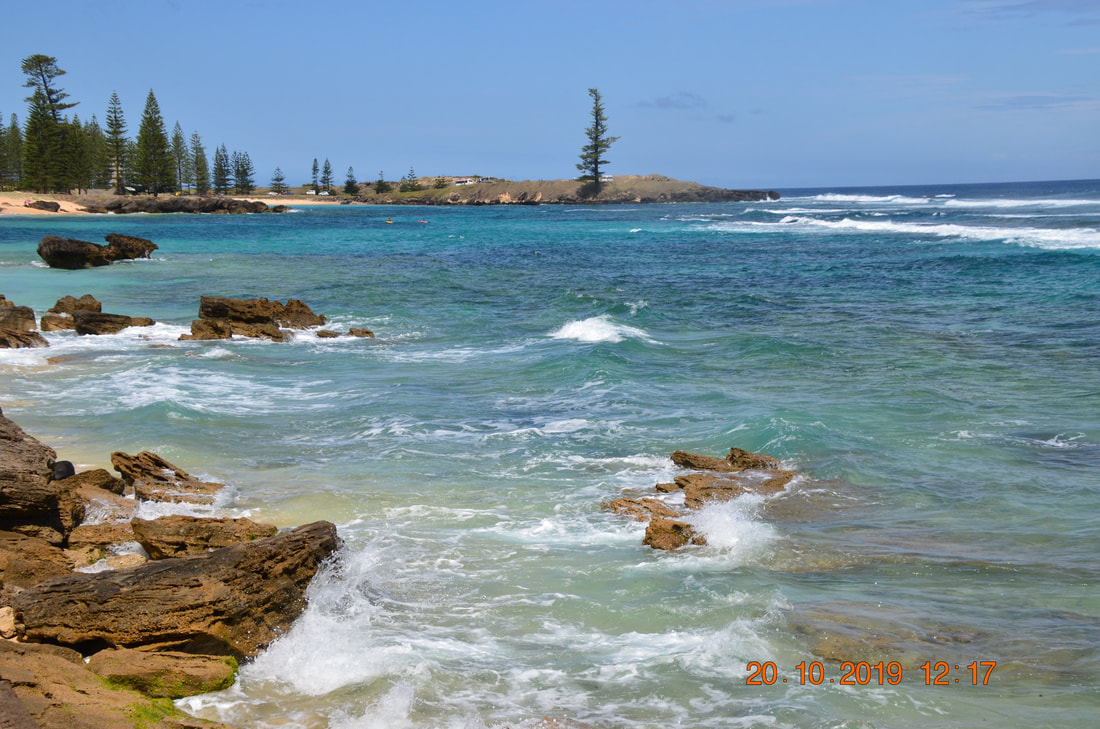
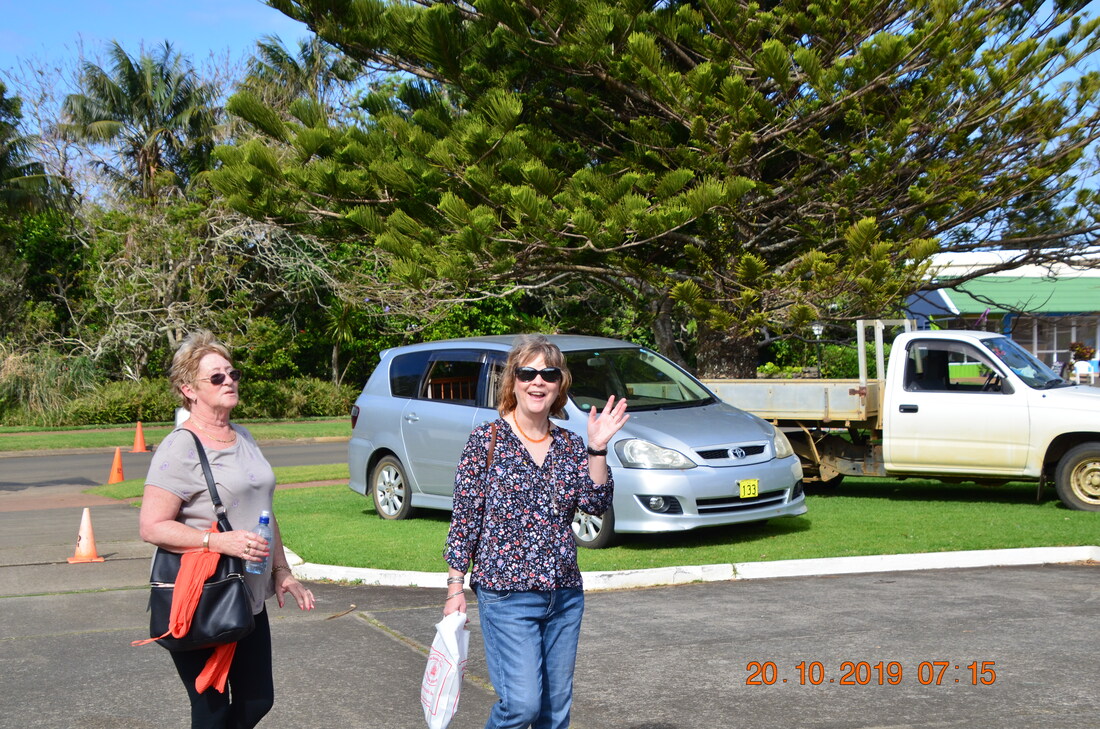
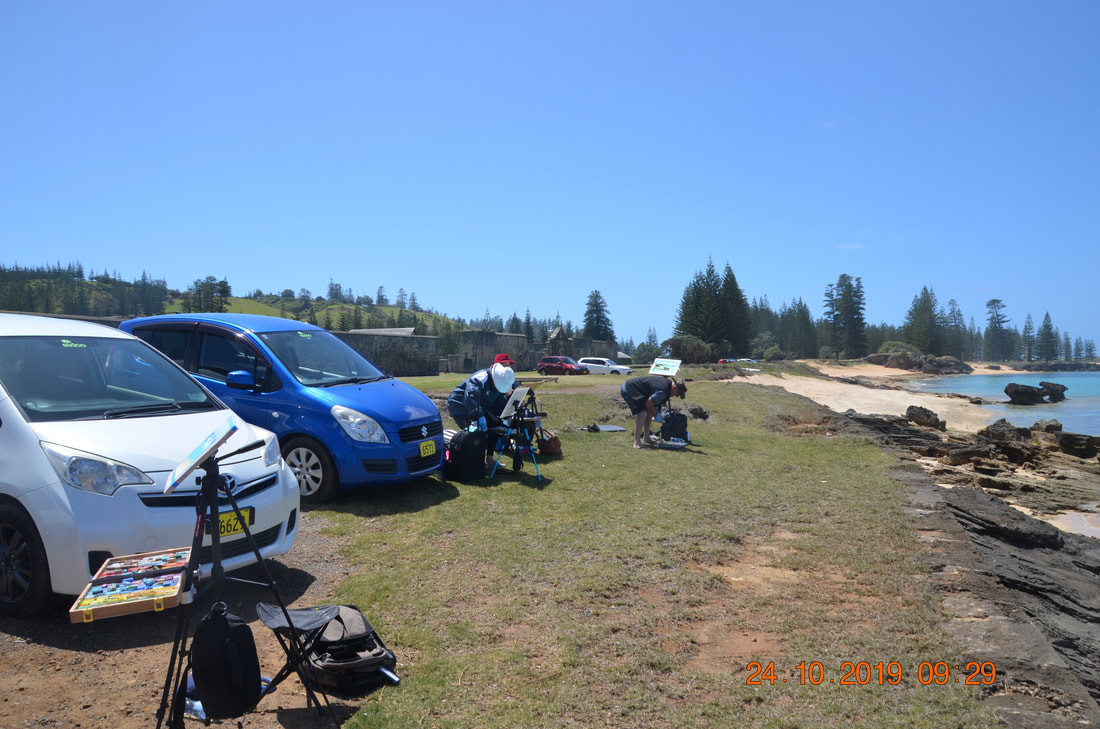
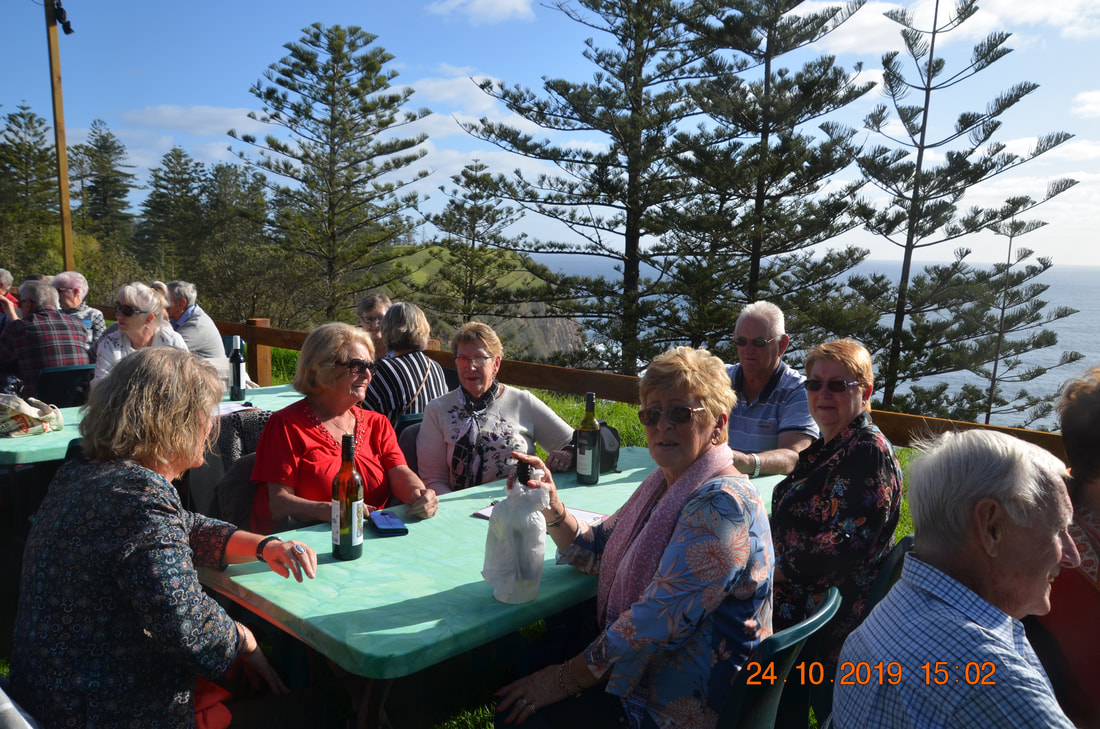
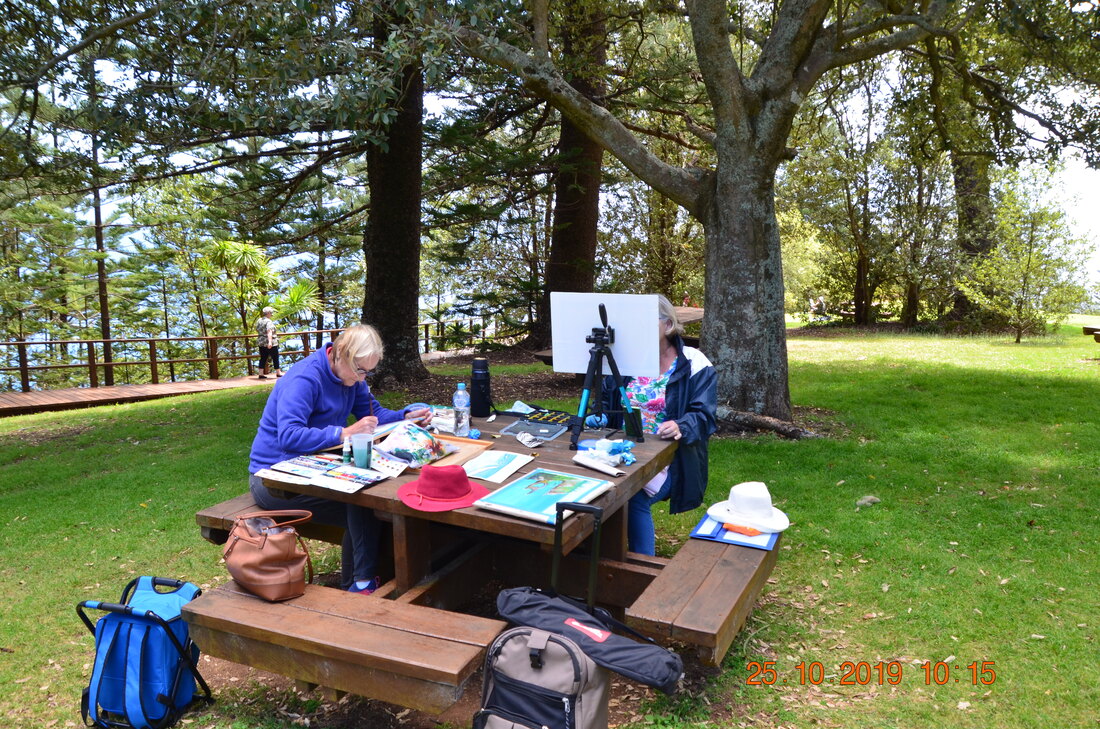
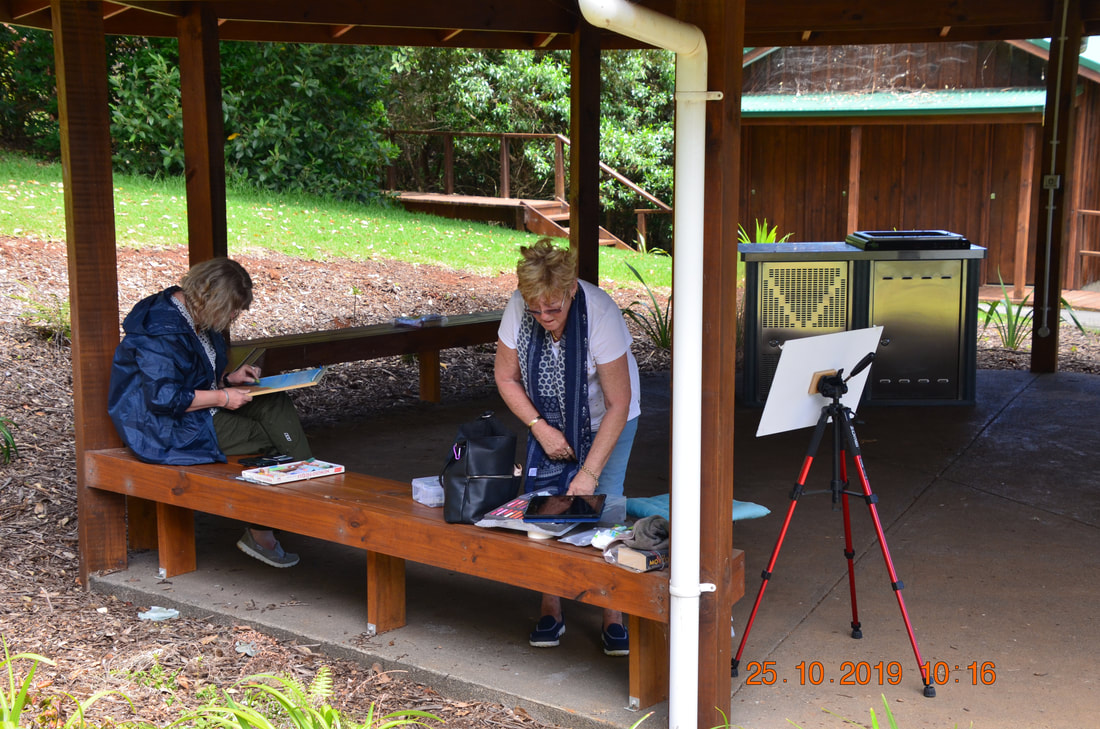
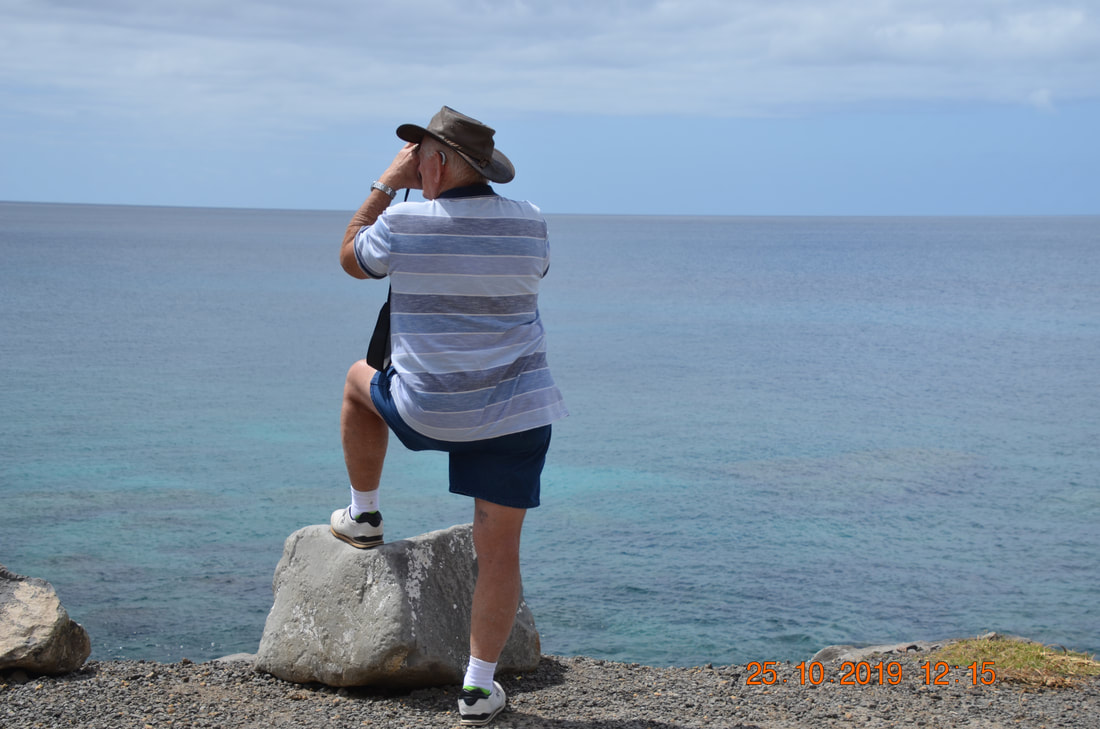
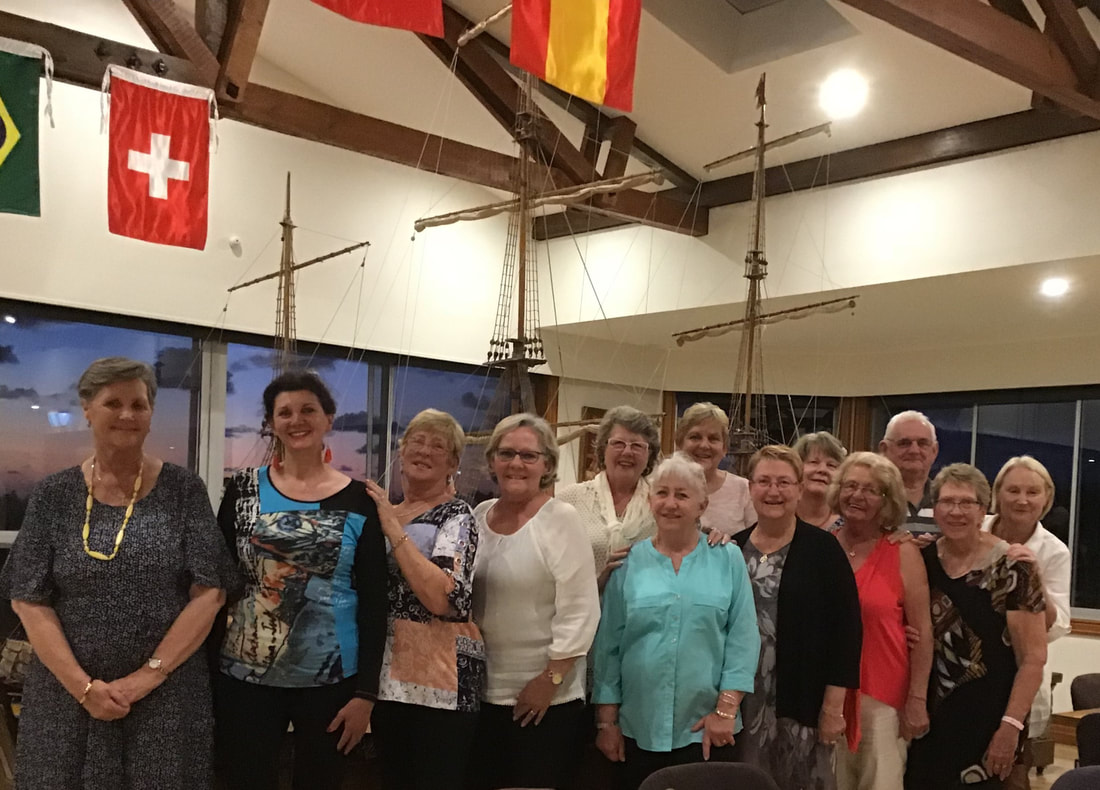
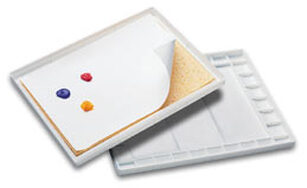 Have you got the acrylic palette blues? Is your palette drying out whilst you work wasting money and above all annoying and wasteful? Is the old paint clogging up the sink and hubby the plumber is not a happy man? Well good news is at hand. With the onslaught of the heat here in Queensland I thought this was an appropriate and timely subject to discuss. Painting can be more of a challenge with paint drying quickly on your palette, loosing that special colour mix and having to start over. Well I am here to sort you out. Acrylics have a habit of drying quickly especially in hot and or dry weather. To extend the life of the paint on your palette & to assist your painting a wet palette is highly recommended. To create a successful wet palette you will require the following items: · Large sponge or Chux dish cloth · Grease proof paper (just the cheap lunch wrap one from the supermarket will do). I do not like baking paper as the paint pulls away as it has a waxy coating. · Shallow container no less than A4 in size, larger if possible with a re-sealable lid. The pastry containers sold in all supermarkets is ideal. Do not have a container that is too deep the shallower the better. Step 1: Wet the sponge and wring out as much water as possible. If the sponge is too wet the paint will become watery and useless. Step 2: Wrap the sponge in the grease proof paper making sure that the paper wraps all around the sponge. This will ensure that the weight of the damp sponge and paint holds the paper in position and stops it from sliding around. Lay the sponge wrapped in paper in the container with the join of the paper underneath. You are now ready to use. Place your paint across the top of the palette leaving the bulk of the palette area for blending and mixing. In very hot weather have a mist sprayer handy and mist your palette at regular intervals to keep it cool and the paints moist. Step 3: When your painting session is over seal the palette with the lid and place in the fridge. Paint will generally keep up to 1 week, sometimes more. When the palette is no longer required remove the paper and discard in the rubbish bin. Pro Tip: I NEVER use baking paper. Although it is stronger it has a waxy feel which prohibits me seeing if the blending of my brush is correct or not. 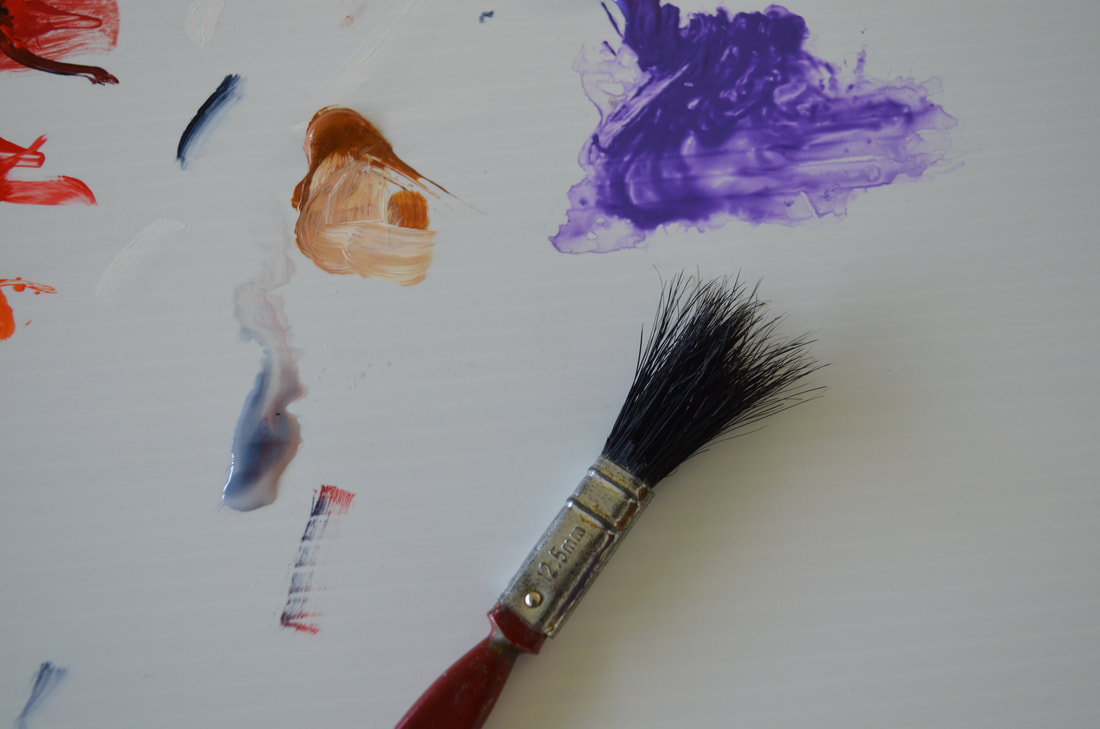 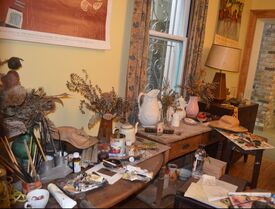 Margaret Olley Margaret Olley Being organized before you begin painting or drawing will not only add to your whole painting experience, but it will also save you time and frustration. Knowing where everything is and having your materials on hand when you need them at your fingertips will allow you to concentrate on your artwork rather than stressing where something is or losing time and concentration rummaging around looking for it. What you need and how to pack or store your art materials largely depends on the location will be painting at. I will try to break down my ideal check list for the most common scenarios for you. In Part 1 I am concentrating on your ideal home studio. Take away what ideas you like and add ideas you may have on your wish list. For inspiration have a look at the book “STUDIO creative spaces for creative people” by Sally Couthard a Jaqui Small publication. The Home studio A home studio can be as little as a desk in the corner of your dining room up to a lavish purpose-built room or even better a free-standing studio in your backyard. Personally, I am lucky enough to have the use of a great room which has large windows and good ventilation. No matter what your artistic ability you deserve to own your own space and you should give yourself permission to ensure you have an area for your artistic creations…you deserve it. This space will undoubtedly improve your artistic skills as it allows you to experiment and be adventurous and have the ability to reward yourself the OK to try new techniques. Choose a space which has good natural light and is well ventilated. If your natural light is poor, consider the purchase of a lamp which has a daylight bulb. You could look at Verve Design 225mm White LED Gooseneck Dale Clip Lamp available from Bunnings for just $36.00. Ideally the walls of your studio should be painted white or a close relation to white to reflect as much light as possible. Coloured walls can reflect the wall colour onto your painting creating distorted colours within your work. A drafting table or similar which has a tilting facility would be perfect, however, make sure it can also be used horizontal giving you greater flexibility. For those of you who work standing at an easel the table can be utilized for holding brushes, paints, pastels, water etc and used flat for drawing purposes. When choosing a table or desk check the height to ensure it is not too high or too low compared with the chair you will be using. Ensure your chair has a straight back and gives good lumbar support. One on wheels is perfect. Next you will need to select appropriate storage. There are a plethora of drawers, boxes and trays from which to choose these days with "Cheap Stores" offering great value for your buck. I suggest you take a sample of what you want to store, the quantities and sizes you have to accommodate to the store so that when you return you know everything will fit your new purchases. Ask yourself do you want your supplies to be on show or do you need to hide them away when guests arrive? Set up your desk and easel preferably with your back to the light source to prevent squinting and ensure you are not going to cast shadows over your work. Think about if you would like or could install a sink and running water, small kitchen and perhaps a loo…. these items are on a wish list but many studios will be lucky enough to include these items. I installed a second hand kitchen which was in good condition into my studio, sink and all. Works a treat. Here are a couple of photos of studios I found to be interesting. Let me know how you go and I would love to see your photos of your studio. Let's share our ideas. 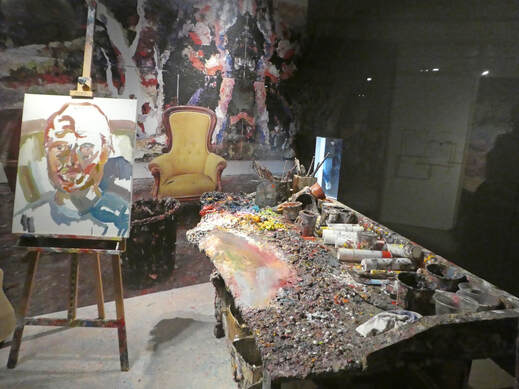 Ben Quilty   The Landsborough Art Studio's 6th Annual Painting Retreat was held on the magnificent Norfolk Island bringing together artists from both the Sunshine Coast, Brisbane and regional areas for 7 days painting en plein air in the many picturesque locations around the island. Our merry party of 13 flew out of Brisbane airport on a Air New Zealand flight destination the South Pacific Island of Norfolk. A little over 2 1/2 hours and we have landed in paradise for the next 7 days of creativity, sight-seeing, fun and comradeship painting in exciting locations. Home for the next 7 days was the South Pacific Resort and staff ensured that our stay was faultless and bent over backwards to ensure all went to plan. The island laid on beautiful weather with scenic vistas leaving the most fastidious painter in awe of the islands beauty. Nine painting sessions ensured everyone came home with a great portfolio of paintings, drawings and sketches in pastels, watercolours and graphite. The perfect combination of painting sessions, guided tours, happy hour , pre-arranged dinners and retail therapy ensured everyone was well looked after whilst working hard at their art. Students experienced one on one assistance as well as group demonstrations on a variety of subjects on a daily basis ensuring a great learning environment. Students were then free to interpret their chosen scene in the medium of their choice. Time to leave came all too soon but plans are already afoot for the 7th Annual Painting Retreat in 2020. If you are interested in joining us in 2020 just let me know so I can ensure information can reach you. There is no better way to share your artistic talent with others!  Today is delivery & hanging day for paintings which will be displayed in the Mathew Flinders Gallery 191 Sunderland Drive, Bribie Island in the upcoming "Collaborations" Exhibition. The Exhibition begins on 17th September and runs until 6th October. The official opening is being held on Saturday 21st September at 2.00pm and I have the great privilege of opening the exhibition on behalf of the Hinterland Artists. There will not only be paintings but also photography, clay, glass and other pieces of fine art. Be sure to come along and have a look and perhaps make a purchase, I would love to see you there.  CONGRATULATIONS...You have reached my new web site which includes a blog page. I am keen for you to have a look around and let me know if you have any questions or would like to see something I have not included. Here I will be including tips and techniques as well as what is on in the studio. Stay tuned............
|
AuthorKaren King owns and operates Landsborough Art Studio and is dedicated to the sharing and learning principals in all art. Here you will learn snippets and interesting information which I know you will find intriguing and valuable. Archives
May 2023
|


 RSS Feed